Thursday, January 29, 2015

This tutorial is written for those with knowledge of PSP
Supplies Needed:
Tube of choice: Im using the wonderful art work of VeryMany
You must obtain a license to use HERE
FTU Scrap Kit by Melissaz Creationz HERE
Template by Becky HERE
Mask of choice
Don't forget to leave a thank you when downloading
Ok Lets get Started:
Open template - Shift D to duplicate then close out original
Canvas size 700x700
Deleted copyright,wordart,shadows,middle frame & snowflakes
Click on rectangle selections,select all, float,defloat
paste a paper of choice from the kit - I used paper6
selection invert delete
select none delete the original
Add border with noise
Click on background circle selections,select all, float,defloat
paste a paper of choice from the kit - I used paper3
selection invert delete
select none delete the original
Add border with noise
Click on frame fills selections,select all, float,defloat
add new layer and flood fill with gradient of choice
add close up of tube
selection invert delete
select none delete the original
Change blend mode to screen
Apply photo effex scanlines
Apply penta dot and cross
Click on frames selections,select all, float,defloat
add new layer & paste solid color of choice into selection
select none delete the original
Add noise
Place your main tube in center
Xero Radiance with settings of choice
Now time to add our elements
I used the following:
Element 1
Element 9
Element 14
Element 21
Element 22
Element 23
Merge your layers
Open paper of choice & apply mask
Place your name where you like it
Add the Copyright and your License Number for the tube
Resize to your liking and save as PNG
This tutorial was created on January 29,2015 by Rhonda
Any resemblance to another Tag or Tutorial is purely coincidental

Sunday, January 25, 2015

This tutorial is written for those with knowledge of PSP
Supplies Needed:
Tube of choice: Im using the wonderful art work of Alex Prihodko
You can purchase these tubes at PFD HERE
FTU kit by Candys Treats HERE
Mask of choice
Ok Lets get Started:
Open blank canvas 700x700
Open snow frame 4 & paste as new layer
Using the selection tool draw a rectangle around frame
Add new layer under frame
Open paper 24 and paste into selection
Open bow 2 - resize 65% and paste to top of right hand corner
Open snowflake1 - resize 75% and paste on top of bow
Open glossybead8 - resize 75% and paste to bottom right of frame
Open boxes3 - resize 63% and place to bottom left hand side
Open flower3 - resize 52% and place behind glossybead but move out to the left
Place tube in center of frame
Open let it Snow wordart or one of your choice
Place near bottom of tag
I colored mine to match the tag
Open snow overlay of choice and apply to tag
Merge these layers as one
Add mask of choice
Place your name where you like it
Add the Copyright and your License Number for the tube
Resize to your liking and save as PNG
This tutorial was created on January 18,2015 by Rhonda
Any resemblance to another Tag or Tutorial is purely coincidental

This tutorial is written for those with knowledge of PSP
Supplies Needed:
Tube of choice: Im using the wonderful art work of Barbara Jensen
Which you must obtain a license to use at her store HERE
FTU Scrap Kit by Topcats Tagz called "Feeling Blue" HERE
FTU Cluster from Maria HERE
Don't forget to leave a thank you when downloading
Ok Lets get Started:
Open cluster - Shift D to duplicate & close original
Increase canvas to 700x700
Using freehand tool draw around cluster
Open paper 12 and paste as new layer
Selections invert delete
Move paper under frame
Now time to add our elements
I used the following:
Element 5
Element 12
Element 23
Element 26
Element 43
Element 48
Element 51
Element 55
Place your tube where desired
Merge your layers
Place your name where you like it
Add the Copyright and your License Number for the tube
Resize to your liking and save as PNG
This tutorial was created on January 25,2015 by Rhonda
Any resemblance to another Tag or Tutorial is purely coincidental
Saturday, January 24, 2015

This tutorial is written for those with knowledge of PSP
Supplies Needed:
PTU Scrap Kit from Kissing Kate called "Puppy Passion"
This kit can be purchased at S&CO HERE
Mask of choice
Ok Lets get Started:
Resize elements to your liking
This is a very quick and easy tutorial
Open blank canvas 700x700
Open frame 1 & place in center of tag
Grab the magic wand & click inside frame
Selections modify expand by 6
Open paper 9 and paste as new layer
Open paper 11 and paste on top of paper 9
Change blend mode to exclusion
Merge the 2 papers together
Move paper under frame
Now time to add our elements
I used the following:
Element 1
Element 5
Element 9
Element 18
Element 22
Element 24
Element 26
Element 30
Element 40
Element 50
Element 69
Merge all layers
Open paper of choice and apply mask
Place your name where you like it
Add the Copyright and your License Number for the tube
Resize to your liking and save as PNG
This tutorial was created on January 24,2015 by Rhonda
Any resemblance to another Tag or Tutorial is purely coincidental

This tutorial is written for those with knowledge of PSP
Supplies Needed:
Tube of choice: I'm using the wonderful art work of VeryMany
Which you must obtain a license to use HERE
PTU Scrap Kit by Jen from Sweet Temptations called "Valentine"
You an purchase this awesome kit from one of her stores HERE
Template #17 by Tagger Templates HERE
Mask of choice
Don't forget to leave a thank you when downloading
Ok Lets get Started:
Open template - Shift D to duplicate then close out original
Canvas size 700x700
delete copyright
Click on top & bottom rectangle selections,select all, float,defloat
paste a paper of choice from the kit - I used paper9
selection invert delete
select none delete the original
I added a border with noise
Click on top & bottom circle selections,select all, float,defloat
paste a paper of choice from the kit - I used paper3
selection invert delete
select none delete the original
I added a border with noise
Click on middle rectangle selections,select all, float,defloat
paste a paper of choice from the kit - I used paper8
selection invert delete
select none delete the original
I added a border with noise
Click on mats selections,select all, float,defloat
add new layer and flood fill with color of choice
add close up of tube inside 2 outer mats
apply xero radiance with settings of choice
selection invert delete
select none delete the original
Click on frames selections,select all, float,defloat
add new layer and again apply solid color of choice
add noise with settings of choice
select none delete the original
Place your main tube
Xero Radiance with settings of choice
Now time to add our elements
I used the following:
Heart 1
Lace Heart
Love Sparkle
Ribbon 2
Swirl
Merge your layers
Open paper of choice and apply mask
Place your name where you like it
Add the Copyright and your License Number for the tube
Resize to your liking and save as PNG
This tutorial was created on January 24,2015 by Rhonda
Any resemblance to another Tag or Tutorial is purely coincidental
This tutorial is written for those with knowledge of PSP
Supplies Needed:
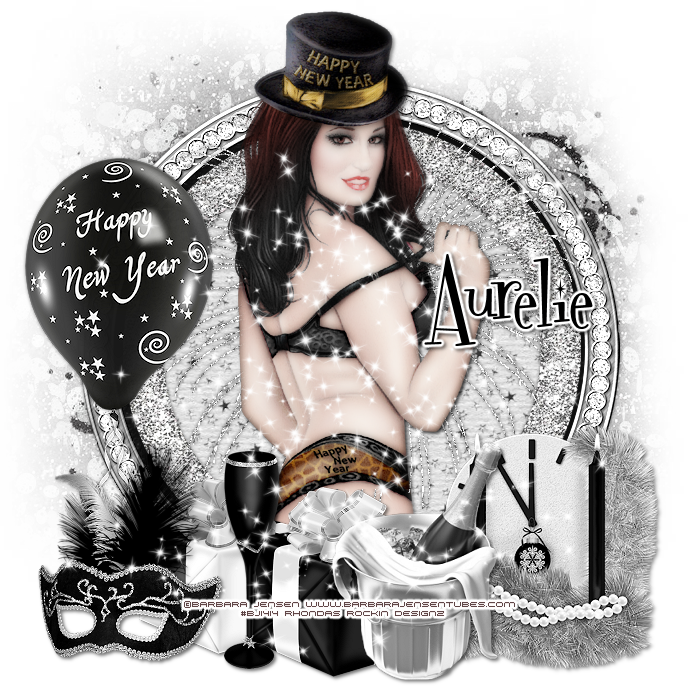
Tube of choice: I'm using the wonderful art work of Barbara Jensen
You can purchase her tubes HERE
PTU Scrap Kit by Purple Dream Scraps called New Year 2015
You can purchase this awesome kit HERE
Mask of choice
Ok Lets get Started:
Open a blank image 700x700
Open frame 2 and place as a new layer
Open frame 1 and place as new layer
Grab the magik wand and click inside frame
Open paper 13 and place as a new layer
Move paper under frames
Place your main tube
Xero Radiance with settings of choice
Now add any elements of choice
I used the following:
Balloon
Champagne 2
Clock
Fireworks 2
Glass
Mask
Present
Present 2
Sparkles
Merge your layers
Open paper of choice and apply mask
Place your name where you like it
Add the Copyright and your License Number for the tube
Resize to your liking and save as PNG
This tutorial was created on January 24,2015 by Rhonda
Any resemblance to another Tag or Tutorial is purely coincidental
Friday, January 23, 2015
This tutorial is written for those with knowledge of PSP
Supplies Needed:
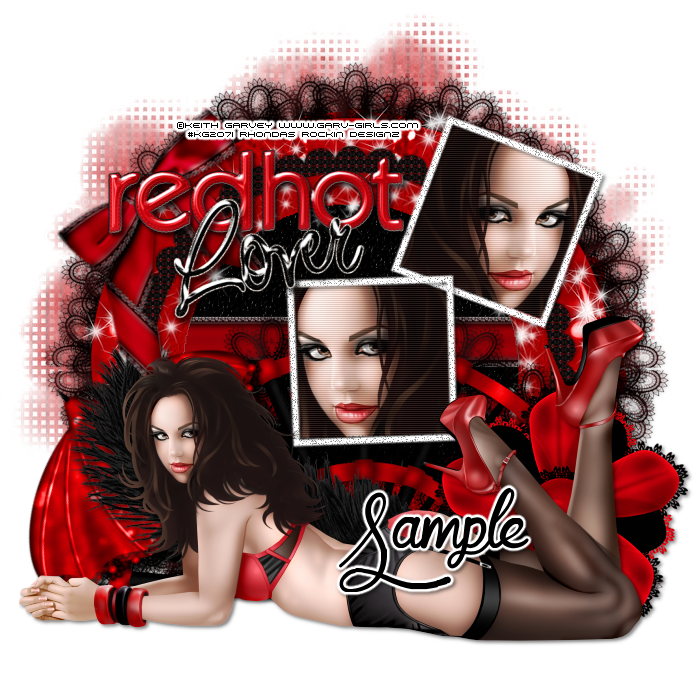
Tube of choice: I'm using the wonderful art work of Keith Garvey
You must obtain a license to use this art HERE
FTU Scrap Kit by Dee HERE
Template#24 by Melissaz Creationz HERE
Mask #4 by Dee HERE
Don't forget to leave a thank you when downloading
Ok Lets get Started:
Open template - Shift D to duplicate then close out original
Resize canvas to your liking
Deleted copyright, square 1 backing and frame & dotted trails
Click on large circle selections,select all, float,defloat
paste a paper of choice from the kit - I used paper7
selection invert delete
select none delete the original
Click on large circle frames selections,select all, float,defloat
paste a paper of choice from the kit - I used paper6
selection invert delete
select none delete the original
Click on scalloped frame selections,select all, float,defloat
paste a paper of choice from the kit - I used paper4
selection invert delete
select none delete the original
Click on narrow line selections,select all, float,defloat
open element 8 and paste into selections
select none
Click on thin line and paste element 8 here as well
Place close up of tube inside the frames
Apply Xero radiance to tubes
Add noise to frames
Place your main tube in center
Xero Radiance with settings of choice
Now time to add our elements
I used the following:
Element 5
Element 7b
Element 8
Element 14
Element 16
Element 17
Frame 2
Frame 3
Wordart 2b
Wordart 3b
Merge your layers
Open paper of choice & apply mask
Place your name where you like it
Add the Copyright and your License Number for the tube
Resize to your liking and save as PNG
This tutorial was created on January 23,2015 by Rhonda
Any resemblance to another Tag or Tutorial is purely coincidental

This tutorial is written for those with knowledge of PSP
Supplies Needed:
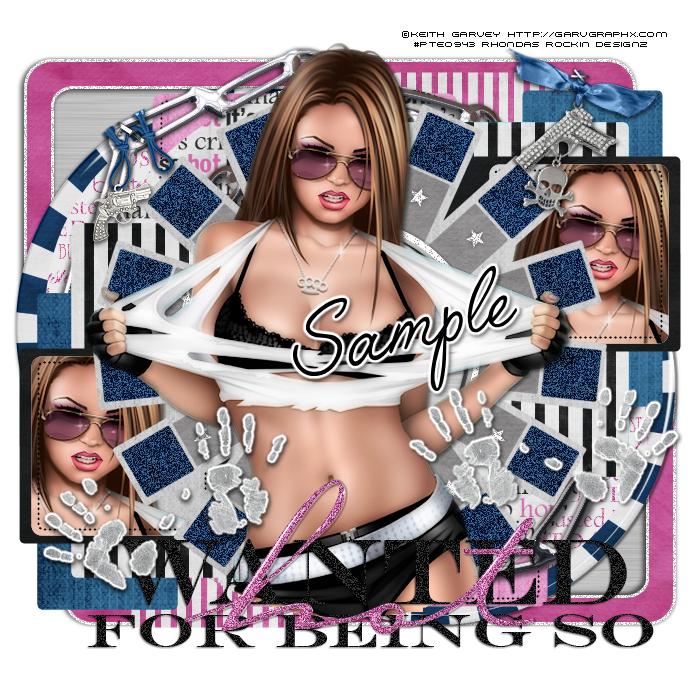
Tube of choice: I'm using the wonderful art work of Keith Garvey
You can purchase his tubes at his store HERE
FTU Scrap Kit by Purple Dream Scraps HERE
Mask by K'Lani Designs HERE
Don't forget to leave a thank you
Ok Lets get Started:
Open a blank image 700x700
Open frame 2 and place as a new image
Grab the magik wand and click inside frame
Select modify expand by 10
Open paper 4from kit and place as a new layer
Selections invert - delete
Move paper under frames and merge together
Place your main tube to right of frame
Now add any elements of choice
I used the following:
Bow 3
Chocolate Box
Chocolate Heart
Cupcake
Gift
Gift 2
Glass
Hearts
Kitty
Puppy
Sparkles
Merge your layers
Open paper 13 and apply mask
Place your name where you like it
Add the Copyright and your License Number for the tube
Resize to your liking and save as PNG
This tutorial was created on January 20,2015 by Rhonda
Any resemblance to another Tag or Tutorial is purely coincidental

This tutorial is written for those with knowledge of PSP
Supplies Needed:
Tube of choice: Im using the wonderful art work of Danny Lee
You must obtain a license to use his art at S&Co HERE
PTU Scrap Kit from Whisper in the Wind called "Frost Girl"
You can purchase at S&CO HERE
Mask of choice
Resize elements to your liking
Ok Lets get Started:
Resize elements to your liking
This is a very quick and easy tutorial
Open blank canvas 700x700
Open frame 3 & place toward right of canvas
Duplicate and mirror
Move the duplicated one up a little
Merge the 2 elements
Grab the magic wand & click inside frame
Selections modify expand by 10
Open paper 4 and paste as new layer
Move paper under frame
Place your main tube & build around it
Now time to add our elements
I used the following:
Element 1
Element 3
Element 12
Element 40
Element 53
Element 54
Element 63
Element 88
Merge your layers
Open paper of choice & apply mask
Place your name where you like it
Add the Copyright and your License Number for the tube
Resize to your liking and save as PNG
This tutorial was created on January 23,2015 by Rhonda
Any resemblance to another Tag or Tutorial is purely coincidental

This tutorial is written for those with knowledge of PSP
Supplies Needed:
Tube of choice: Im using the wonderful art work of The Hunter
You must obtain a license to use this art at S&Co HERE
PTU Scrap Kit from Bibi called "Rayas"
You can purchase this awesome kit at S&Co HERE
Mask of choice
Resize elements to your liking
Ok Lets get Started:
This is a very quick and easy tutorial
Open element 9 & place in center of tag
Grab the magic wand & click inside frame
Selections modify expand by 10
Open paper 1 & paste as new layer
Selections invert delete
Place your main tube
Now time to add our elements
I used the following:
Element 2
Element 3
Element 6
Element 14
Element 22
Element 29
Element 31
Element 32
Element 50
Element 62
Element 55
Element 78
Element 80
Merge your layers
Open paper of choice & apply mask
Place your name where you like it
Add the Copyright and your License Number for the tube
Resize to your liking and save as PNG
This tutorial was created on January 23,2015 by Rhonda
Any resemblance to another Tag or Tutorial is purely coincidental
Monday, January 19, 2015

This tutorial is written for those with knowledge of PSP
Supplies Needed:
Tube of choice: Im using the wonderful art work of Sonia Roji
You can find Pinup tubes at CDO HERE
PTU Scrap Kit by Icy Blue Mystic Designs "Pink Winter"
You can purchase this kit at one of her stores HERE
Template #732 by Millie HERE
Winter Mask by Dee HERE
Ok Lets get Started:
Open template - Shift D to duplicate then close out original
Resize template to your liking
delete copyright,wordart,raster 4&6,hearts
Click on raster 1 selections,select all, float,defloat
paste a paper of choice from the kit - I used paper1
selection invert delete
select none delete the original
Click on raster 2 selections,select all, float,defloat
paste a paper of choice from the kit - I used paper11
selection invert delete
select none delete the original
Click on raster 3 selections,select all, float,defloat
paste a paper of choice from the kit - I used paper12
selection invert delete
select none delete the original
Click on raster 5 selections,select all, float,defloat
paste a paper of choice from the kit - I used paper5
selection invert delete
select none delete the original
Click on raster 9 selections,select all, float,defloat
paste a paper of choice from the kit - I used paper11
selection invert delete
select none delete the original
Click on raster 11 selections,select all, float,defloat
paste a paper of choice from the kit - I used paper6
selection invert delete
select none delete the original
Place your tube
Now time to add our elements
I used the following:
Candle 1
Candle 2
Holiday House
Holly Garland 1&2
Puppy with Candy Cane
Sledding Snowman
Snowfalling 2&3
Tree 2
Winter Birdhouse
Merge layers
Open paper of choice and apply mask
Place your name where you like it
Add the Copyright and your License Number for the tube
Resize to your liking and save as PNG
This tutorial was created on January 20,2015 by Rhonda
Any resemblance to another Tag or Tutorial is purely coincidental

This tutorial is written for those with knowledge of PSP
Supplies Needed:
Tube of choice: I'm using the wonderful art work of Alex Prihodka
You can purchase his tubes HERE
FTU scrapkit by Gimptastic Scraps HERE
Mask by Moonbeams and Spiderwebs HERE
Please leave some love when you download
Resize elements to your liking
Ok Lets get Started:
Open a blank 700x700 image
Open frame 4 and place in center
Image rotate 90 to the left
Using selection tool draw around frame
Add new layer under frame
Open paper 4 and paste into selection
Place your main tube
Apply Xero Radiance
Now add any other elements of choice
I used the following:
Books
Chocolate
Cookie 2
Deco 2
Flower 3
Note
Sack
WA
Merge your layers
Open paper of choice and apply mask
Place your name where you like it
Add the Copyright and your License Number for the tube
Resize to your liking and save as PNG
This tutorial was created on January 18,2015 by Rhonda
Any resemblance to another Tag or Tutorial is purely coincidental


This tutorial is written for those with knowledge of PSP
Supplies Needed:
Tube of choice: I'm using the wonderful art work of VeryMany
You must obtain a license to use HERE
FTU Scrap Kit by Designz by Anorie HERE
Mask of choice
Ok Lets get Started:
Open blank canvas 700x700
Open frame 3
Resize frame 70%
Using the deform tool rotate frame slightly to the left
Duplicate frame and mirror
Click inside each frame with magic wand & expand by 8
Open paper 3 and paste as new layer
Selections invert delete
Move paper under frame
Place your main tube to center of tag
Now time to add our elements
Open element 11 - resize 88% and place about 1/4 up from bottom
Open element 31 - resize 45% and place to left side of frame
Open element 32 and do same but move slightly down
Open element 18 - resize 68% and move in front of long stems
Duplicate this layer and mirror
Open element 36 - resize 85% and place to top of frame
Open element 2 - resize 40% and move to bottom right of frame
Open element 16 - resize and move to bottom left of frame
Merge layers
Open paper of choice and apply mask
Place your name where you like it
Add the Copyright and your License Number for the tube
Resize to your liking and save as PNG
This tutorial was created on January 7,2015 by Rhonda
Any resemblance to another Tag or Tutorial is purely coincidental

This tutorial is written for those with knowledge of PSP
Supplies Needed:
Tube of choice: I'm using the wonderful art work of Amy Matthews
You can purchase these tubes at CDO HERE
Cluster Frame by Chilipepper Spiced HERE
Mask by Mythical Designs HERE
Ok Lets get Started:
Open cluster - Shift D to duplicate & close original
Canvas size 700x700
Using the magic wand click inside frame
Selections modify expand 10
New layer under frame & fil with gradient of choice
Apply texture or Filters Unliminited
Select None
Apply tube in center of cluster
Merge these layers as one
On the mask I duplicated my tag several times
Apply mask
Place your name where you like it
Add the Copyright and your License Number for the tube
Resize to your liking and save as PNG
This tutorial was created on January 10,2015 by Rhonda
Any resemblance to another Tag or Tutorial is purely coincidental

This tutorial is written for those with knowledge of PSP
Supplies Needed:
Tube of choice: I'm using the wonderful art work of Z_lataM
You can purchase this work at PFD
FTU Scrap Kit by Jen from Sweet Temptations HERE
Template by Simply4U HERE
Don't forget to leave a thank you when downloading
Ok Lets get Started:
Open template - Shift D to duplicate then close out original
Resize template 94% all layers
Canvas Size 700x700
Delete copyright,small rectangles and winter scene
Click on circle background selections,select all, float,defloat
paste a paper of choice from the kit - I used glitter2
selection invert delete
select none delete the original
Click on circle selections,select all, float,defloat
paste a paper of choice from the kit - I used paper1
selection invert delete
select none delete the original
Click on large rectangle background selections,select all, float,defloat
paste a paper of choice from the kit - I used glitter3
selection invert delete
select none delete the original
Click on large rectangle selections,select all, float,defloat
paste a paper of choice from the kit - I used paper5
selection invert delete
select none delete the original
Click on oval selections,select all, float,defloat
paste a paper of choice from the kit - I used paper6
selection invert delete
select none delete the original
Place your main tube
Xero Radiance with settings of choice
Now time to add our elements
I used the following:
Centerpiece
Champagne Bucket
Cupcake
Decorations
Fireworks
Glass
Merge your layers
Open paper of choice & apply mask
Place your name where you like it
Add the Copyright and your License Number for the tube
Resize to your liking and save as PNG
This tutorial was created on January 19,2015 by Rhonda
Any resemblance to another Tag or Tutorial is purely coincidental
HERE
Sunday, January 4, 2015


Subscribe to:
Posts
(Atom)
Grab My Blinkie

I CT For


Blogs I Visit


